Jongmin Kim Portfolio

Projects | April 23, 2010 | 6 Comments

VIDEO

DESIGN

cm1
cm2
cm3
cm4
cm5
cm6
cm7
cm8
cm9
cm10
cm11
vb
cm13
cm14

DESCRIPTION

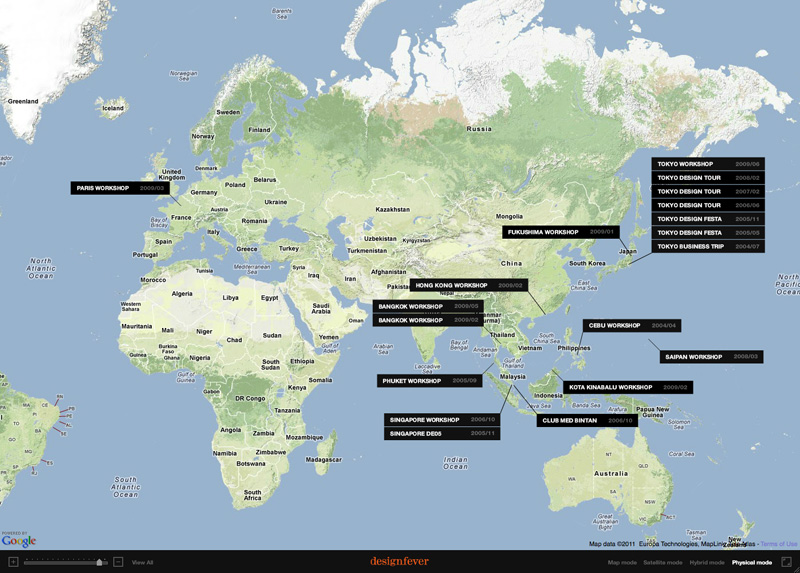
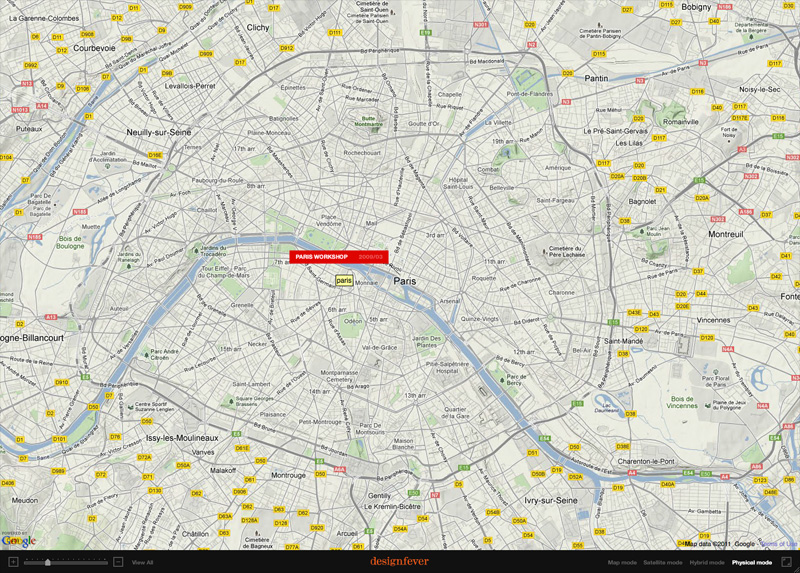
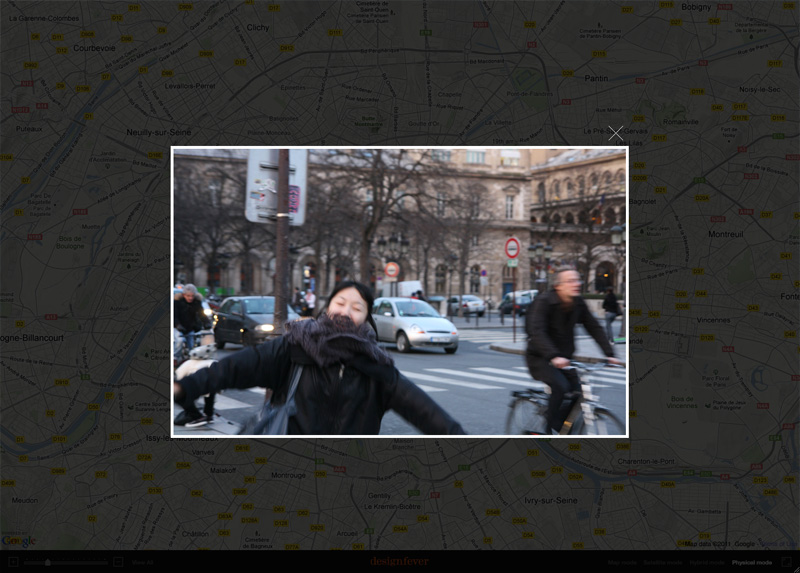
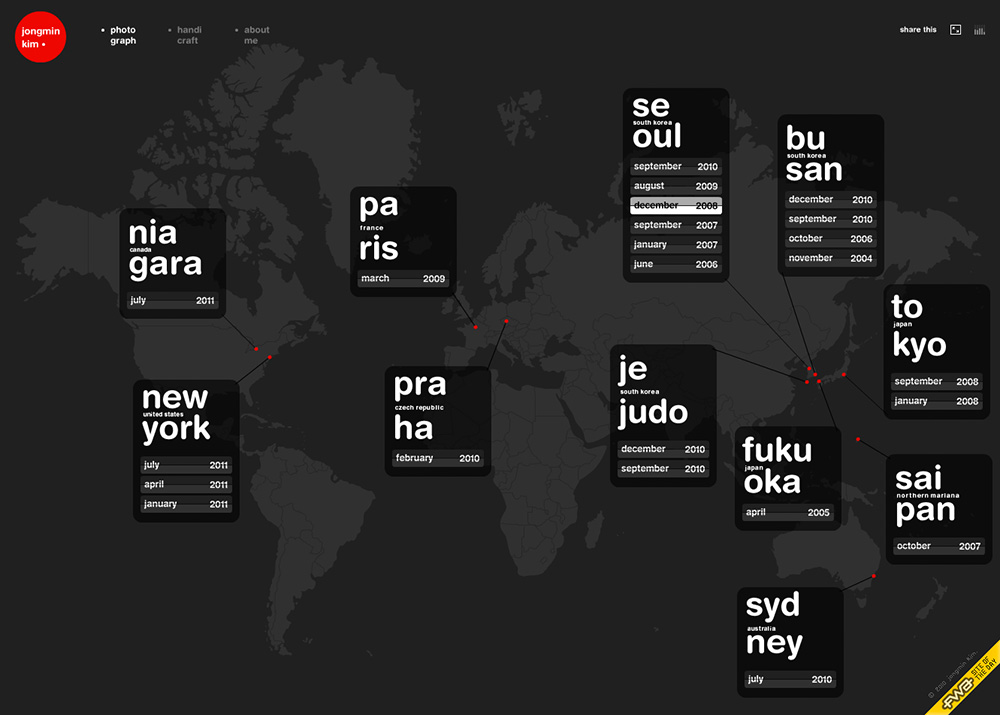
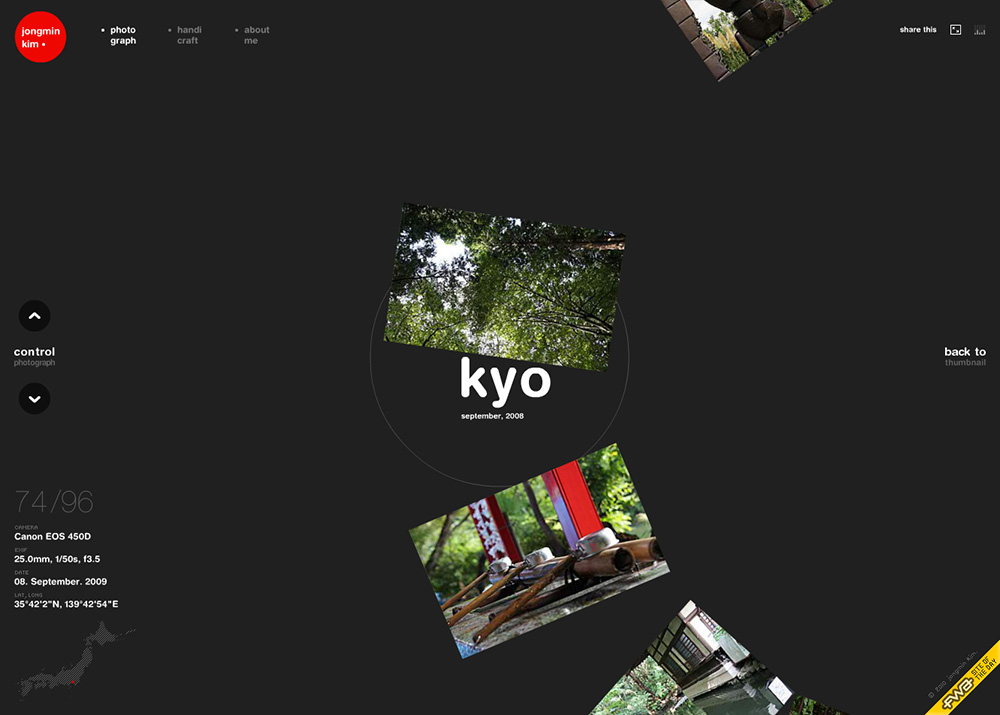
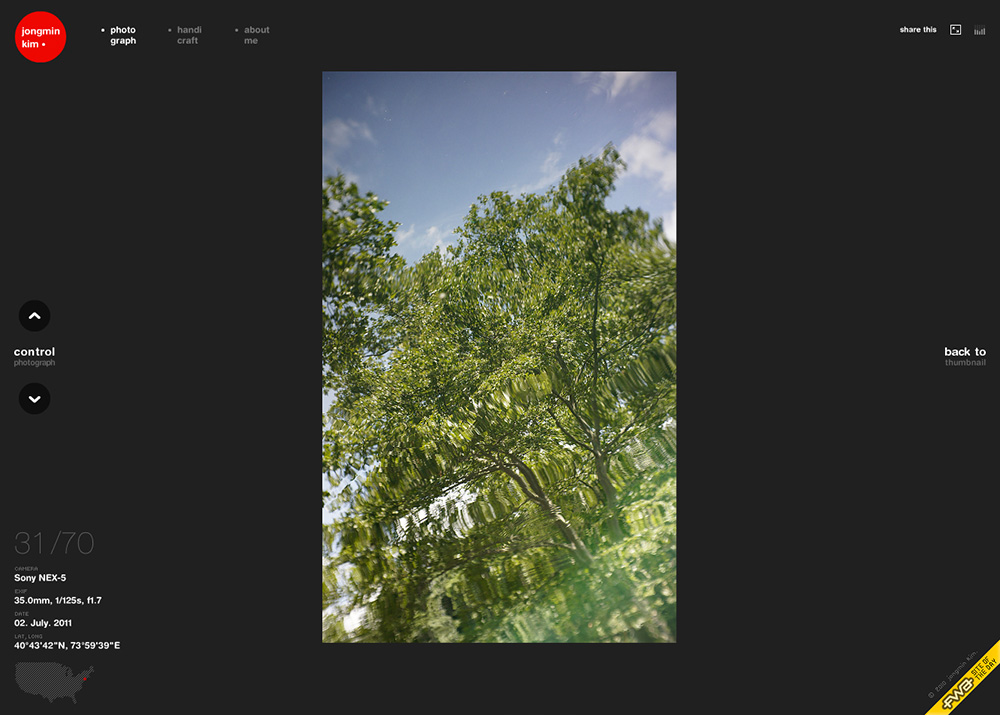
This project serves as Jongmin Kim’s portfolio website. The concept for the website was inspired by an observation made during a recent trip to Tokyo. While flipping through photographs taken during the trip, I noticed that the images when arranged in chronological and spatial order, created a story that resembled a stop-motion animation. This realization led to the creation of a gallery section based on this concept.
 
To enhance the user’s experience, I aimed to create a sense of actually traveling to the different cities. To achieve this, I implemented a flip navigation reminiscent of airport departures, and incorporated sound effects and zoom-in transitions in the section.
 
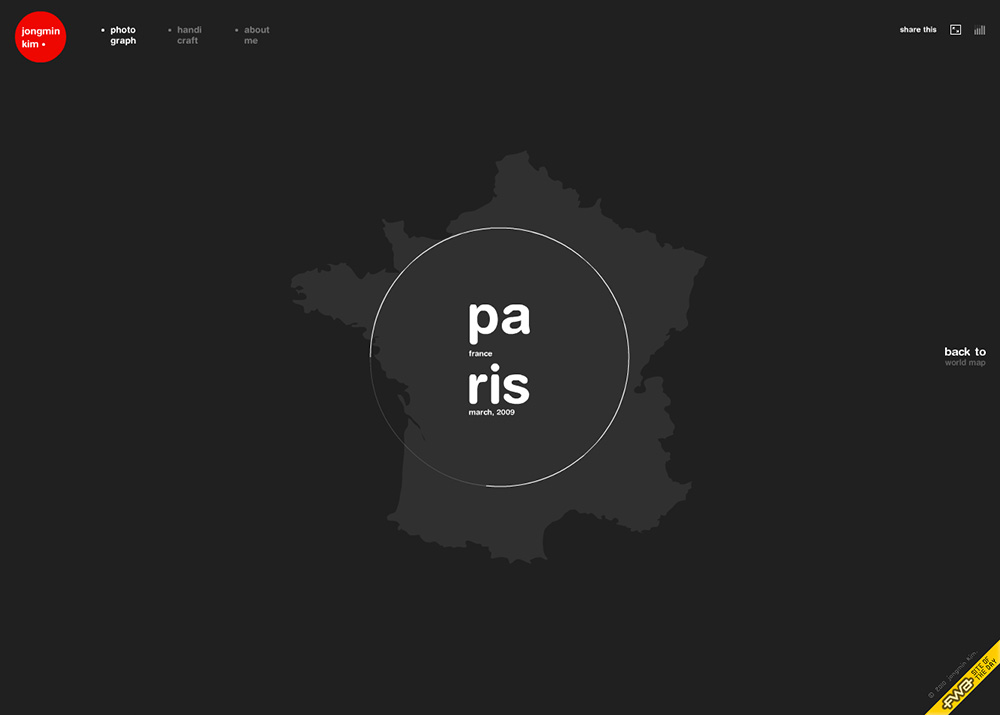
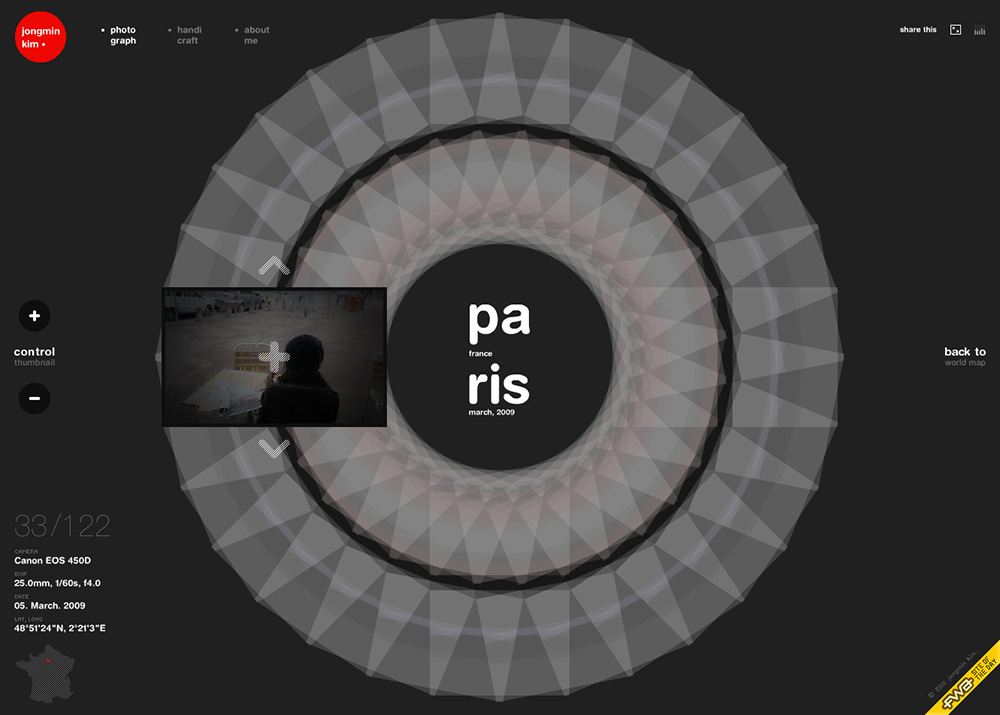
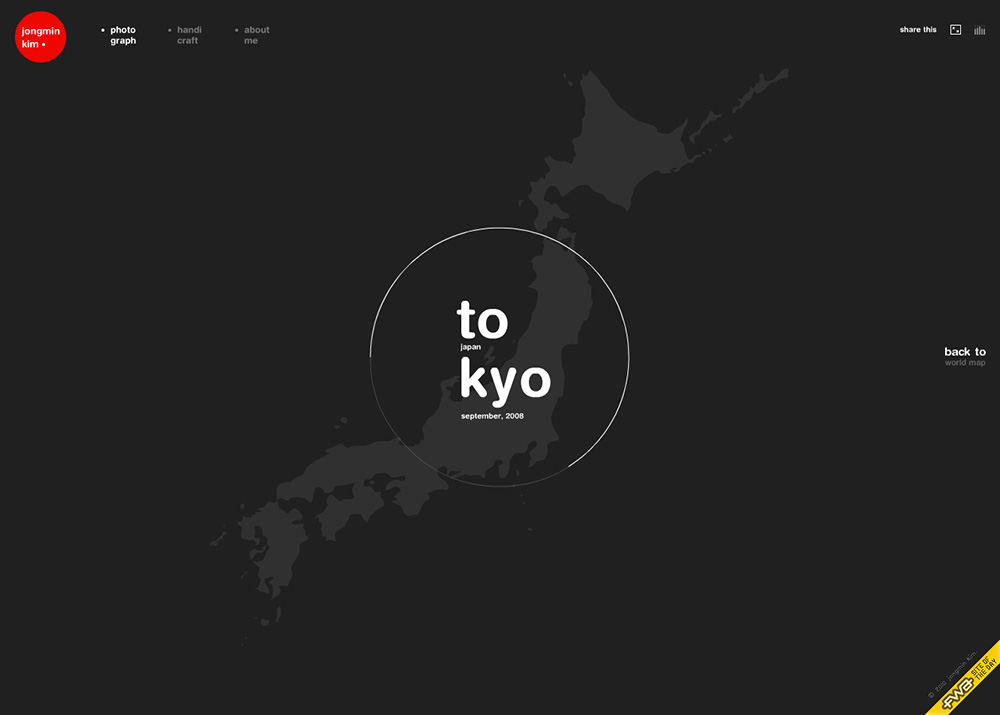
In addition to this, I classified the syllables of words and organized them in an up and down arrangement. For example, the word “Paris” is pronounced as “(Pa)/(ris)”, and by placing it in an up and down arrangement, it gives a visually fresh and unique design effect.
 
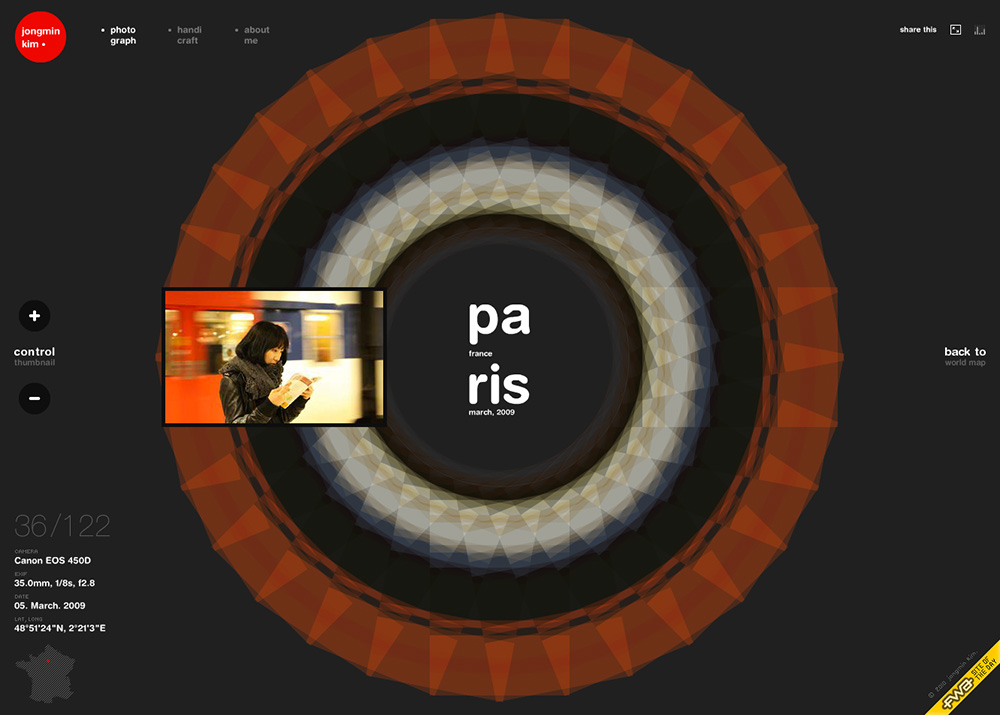
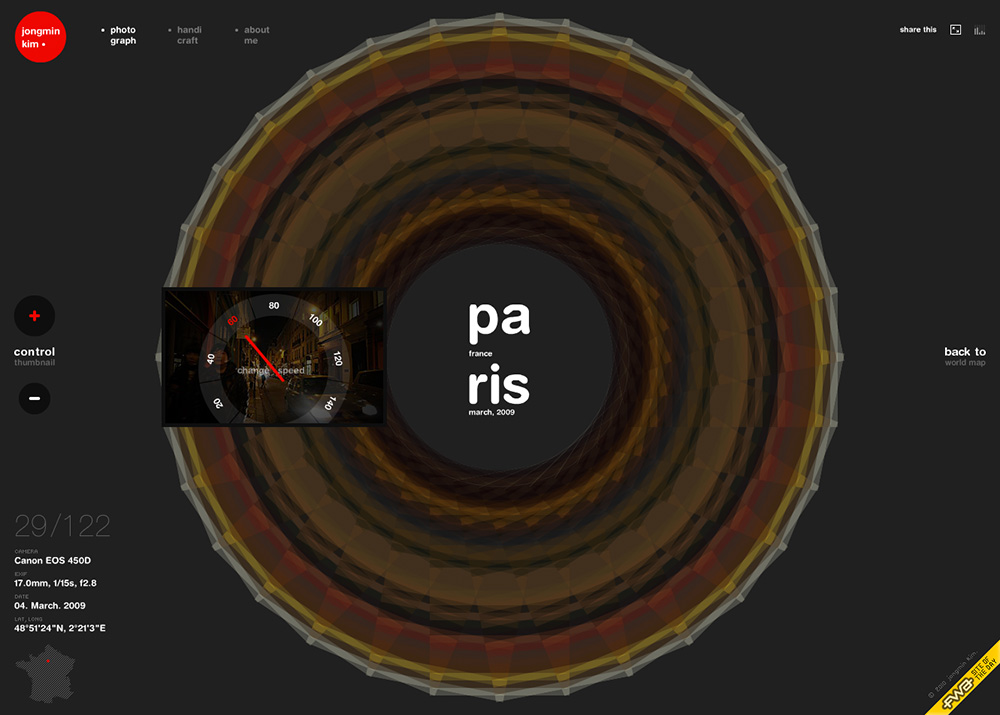
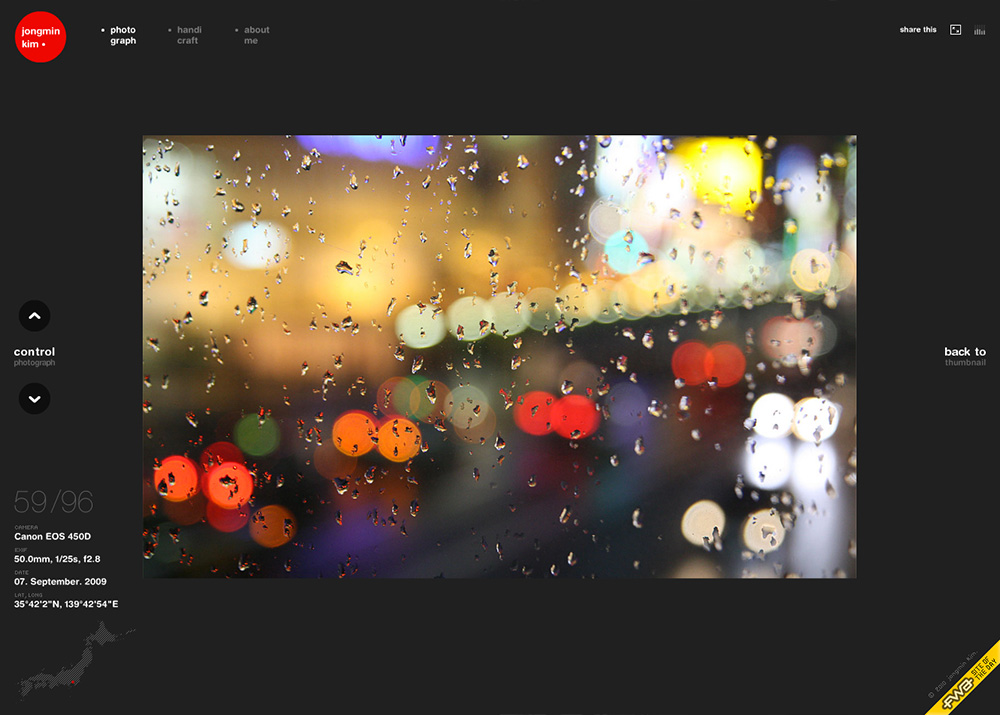
The basic concept of this website is the integration of Space Time, moving away from the traditional separation of these concepts as proposed by Albert Einstein. In the Photo section, only photos that are selected for a specific time and space are displayed and in the Work section, it is organized in chronological order and designed to have a formal spatial layout.

Technologies & Tools

  • ActionScript
  • UX/UI Design
  • Animation
  • Interaction

RELATED PROJECTS

  • +Jongmin Kim Mobile
  • +City Typo T-Shirt
  • +Tokyo Design Tour

AWARDS

  • +15th Webby Awards, Official Nominee – August 2011
  • Web Award Korea, Excellent Prize – December 2010
  • The FWA, Site of the Day – August 2010

PRESS

  • +Web Designing – July 2013
  • +W.E.B Vol. 127 – July 2010
  • +.Net Issue 203 – July 2010
  • +NEWWEBPICK Issue 28 – June 2010
  • +WEAVE 04.2010 – April 2010

ROLE

  • Solo work

ddanga Bookmark

Projects | August 31, 2009 | 11 Comments


This is a simple bookmarking program that allows you to share your bookmarks across multiple environments.
For instance, let’s say that you add a bookmark to the web browser in your office; you won’t be able to see it from your home browser.
This application allows you to share the new bookmark across your work and home computers by saving your web hosting data.

The application has three modes – offline, online and share.
Offline mode stores the bookmark information to the user’s hard drive so it can be can be emailed or delivered by some other physical means to the destination computer.
Share mode allows you to publish your books to your web server so that other users can see your all of your bookmarks.
On-line mode allows you to sync your bookmarks by updating the xml bookmark file on your web hosting server so that it can be read by both computers via the bookmark application.

DOWNLOAD


This application was written in Adobe Air v. 2.0.
Please click “install now”.

If you intend to use on-line mode, download the PHP files to your web hosting environment.
You will need to change the permissioning on the file to either 777 or 755.
The default application password is 0000.
Download – bookmark_php.zip

HOW TO USE

 
1. Off-line Mode

To use off-line mode, first select the drive, folder and filename where you want to save your data file.
Once created this folder will store the data file for your bookmark information under drive://foldername//filename.cm.

Please note: this same path will need to be set up on each machine using the application.

 
2. On-line Mode


To use on-line mode, you must have common web hosting environment and this environment must support php files.
As mentioned above, download the php file, copy to your web hosting environment and update the permissioning settings.
(Please change files permission to 777 or 775)
In the application interface, enter the url and path information on the web hosting environment to the php file.
(ex: http://myhome.com/bookmark/)
Enter the password (default 0000).
Hit confirm.

Download – bookmark_php.zip

 
3. Share mode


There are two modes for share mode : Share local file and Share web file.
You can’t add, modify and delete data at Share web file mode.

Share local file: Using this mode the user can share his/her bookmark information via a file that is created when the user selects the “export my data file” button.
The user can deliver this file to the other user via email, etc. and the second user can upload the file on their machine.
The file can then be loaded using the import data file.

Share web file: In this mode, the bookmark file is uploaded to the users web hosting environment.
The second user may see the shared bookmark information using the url to this file on the first users web hosting server.
The file name is “list.php”.
You add the file by clicking the add button.
In the add window you add other users (friends) urls and hit confirm.
The other users’ information will be automatically loaded into the interface.

 
4. Adding Categorys

To add a bookmark, select add category from the main window.
In the pop up screen, enter first the category name for the bookmark and select add.

 
5. Adding Bookmarks


In the main window, click the + sign next to the newly created category.
In the Add List window, write or paste the url for the bookmarked page into the url box and the display name for this bookmark (if you don’t add a name, you will just see the url).
Click add.
In the main window you will now see the new bookmark under the (or existing) category.

 
6. Basic Use
You will notice the “modify” and “delete” buttons when you mouse over the plus sign next to the category.
These allow you to edit the category name.
You can add and delete individual urls by clicking the icon in front of each url name under the category.

You can change the position of a given category by clicking and dragging the category within the window.

 
7. Additional Uses

– If you are in online mode and the network is connection is lost, you will see an error message “Disconnected Network”.
– You can collapse and expand all categories by right clicking and selecting open all categories or close all categories.
You can collapse and expand individual categories by simply clicking the category name.
– To disable the resize animation, deselect the “auto resize” option in the settings display.
 
 
If you have any questions, comments, suggested enhancements or bug reports, please contact me directly at cmiscm@gmail.com.


fever lounge on google map

Projects | June 7, 2009 | Comment

VIDEO

DESIGN


URL

  • http://map.designfever.com/

ROLE

  • Solo work