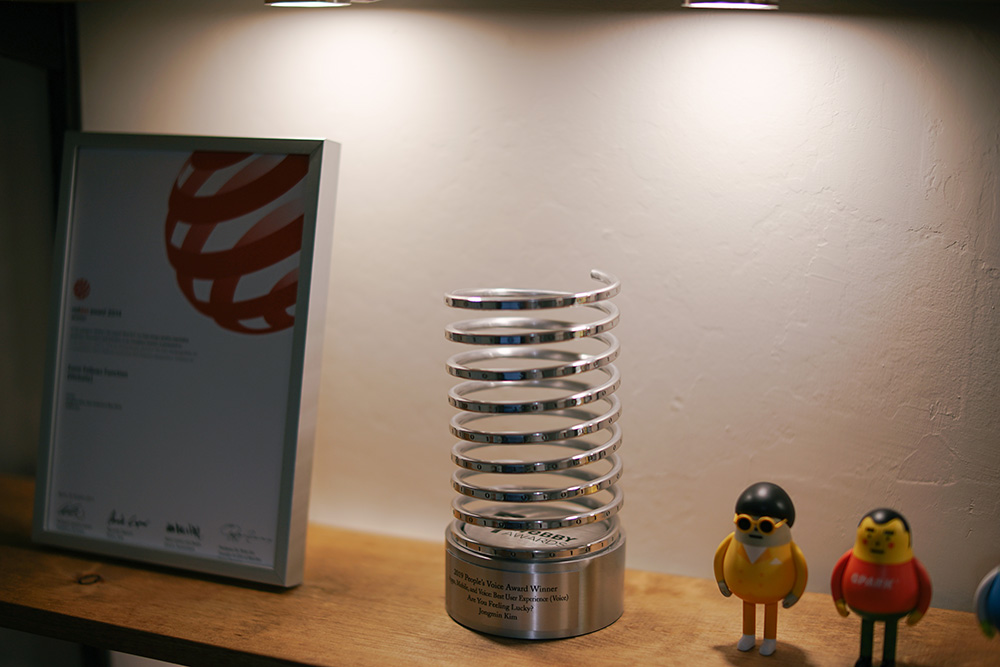
AWARDS
- http://www.webbyawards.com/
- Webby Awards 2019 People’s Voice – May 2019
- Are You Feeling Lucky?
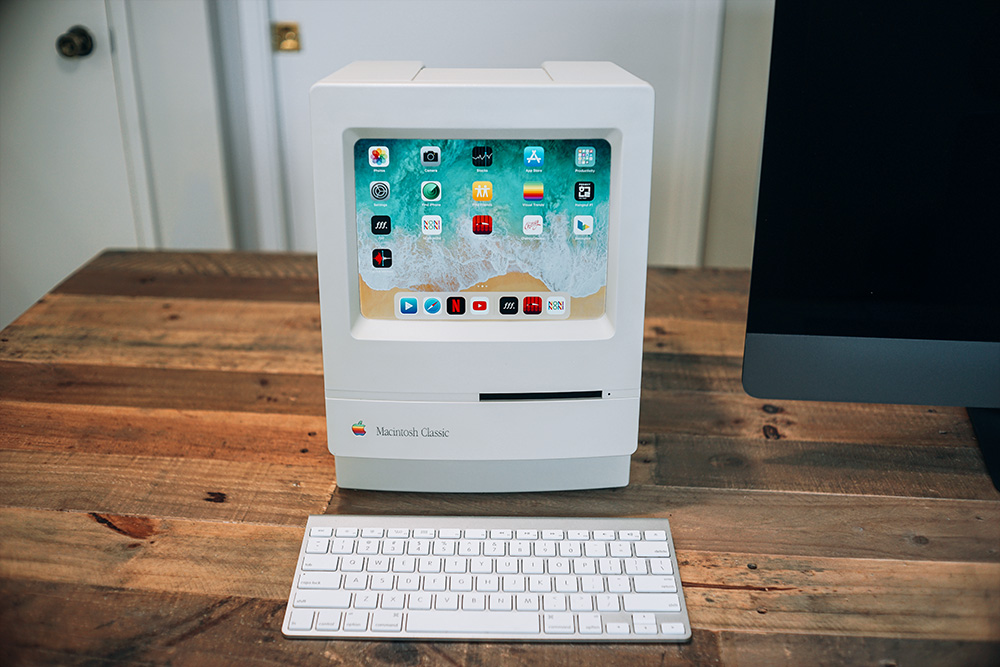
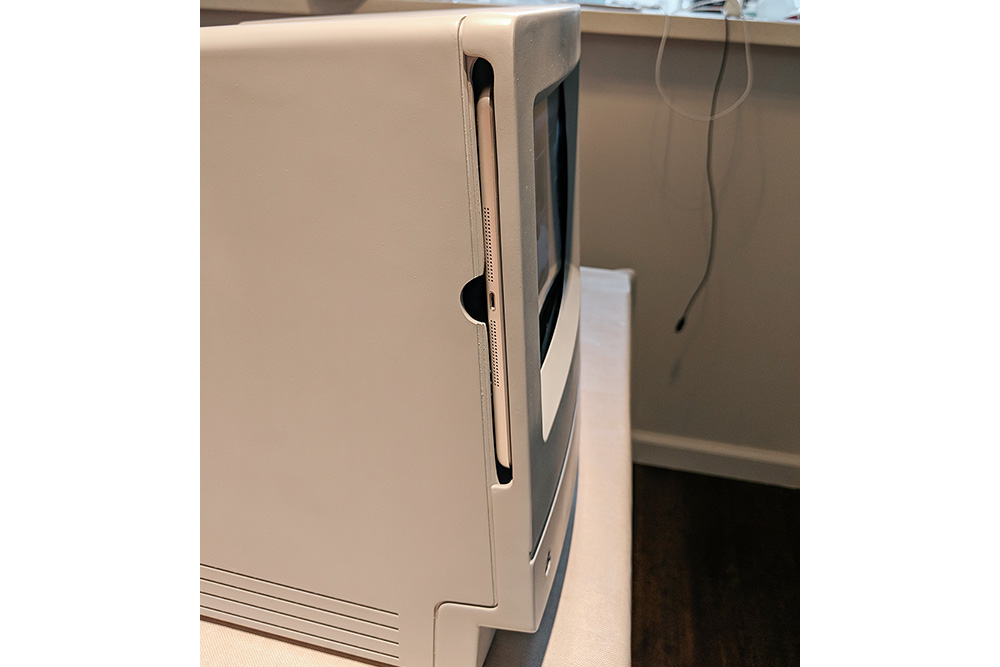
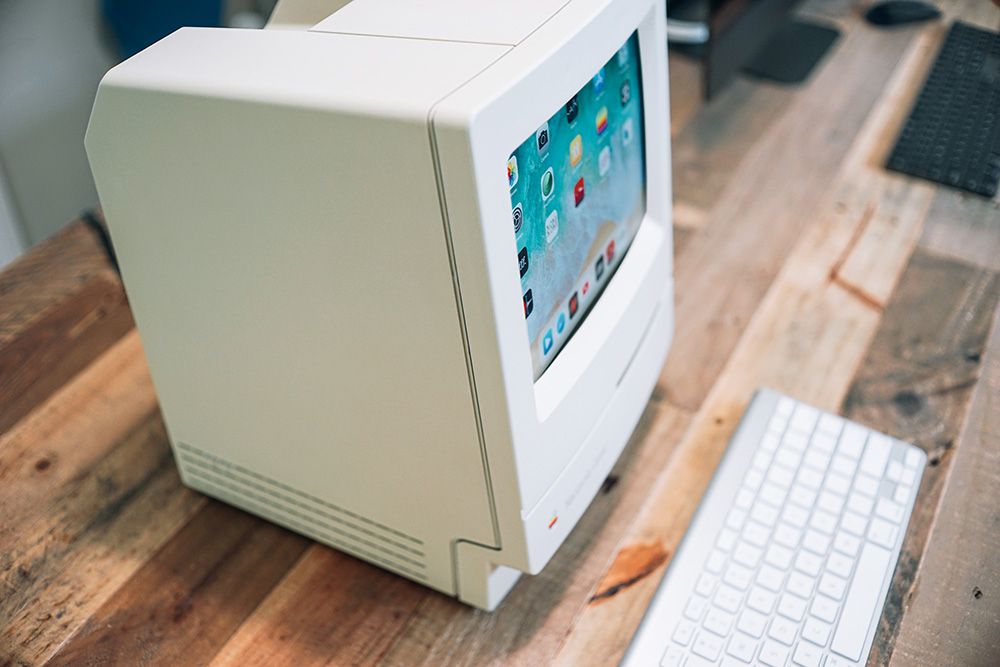
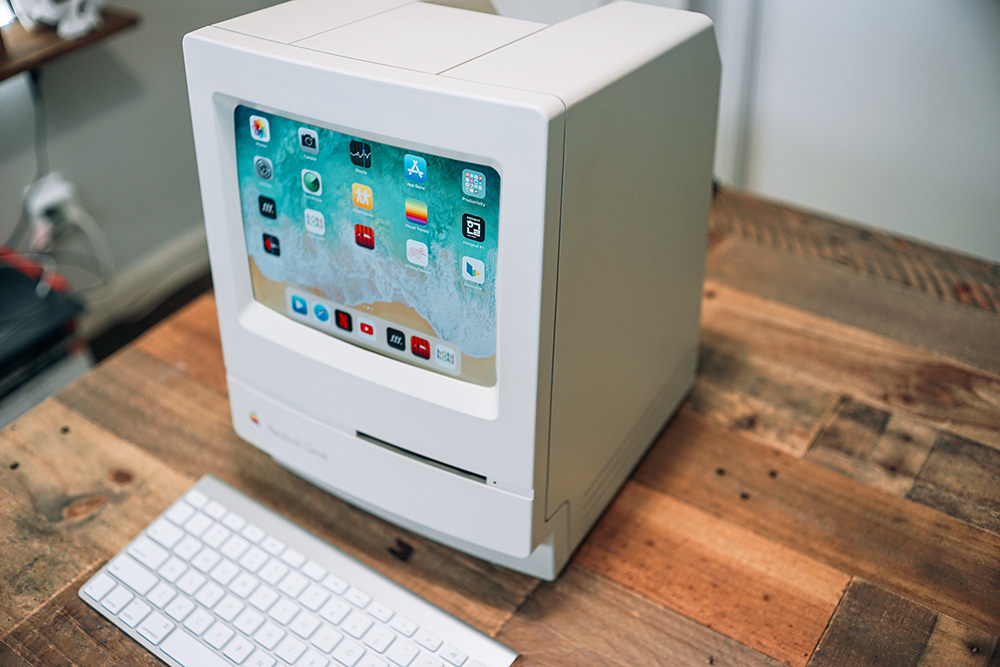
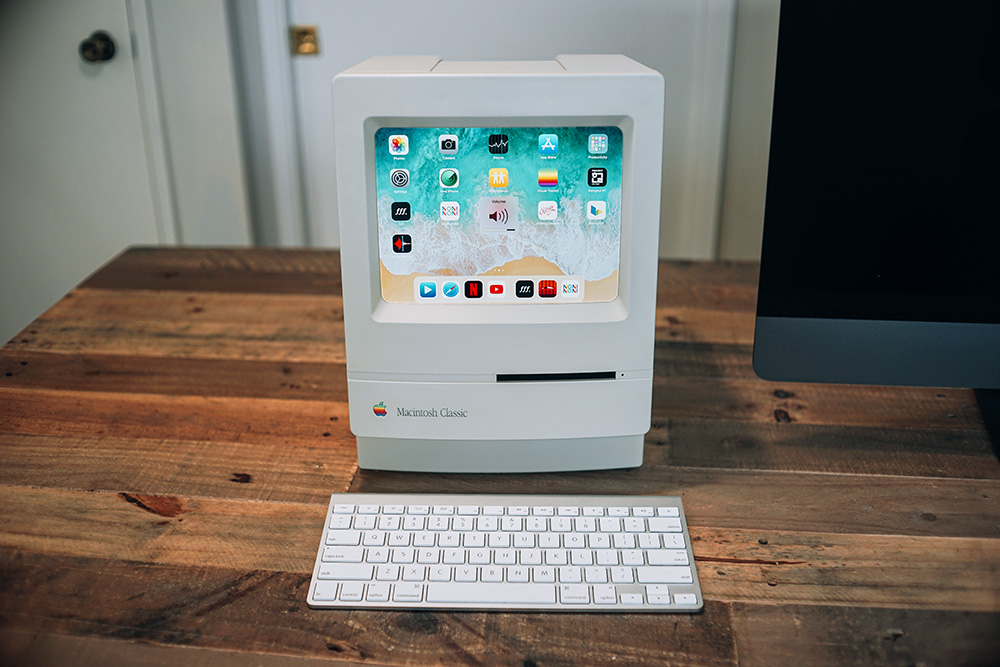
Macintosh Classic turned into iPad Air stand.
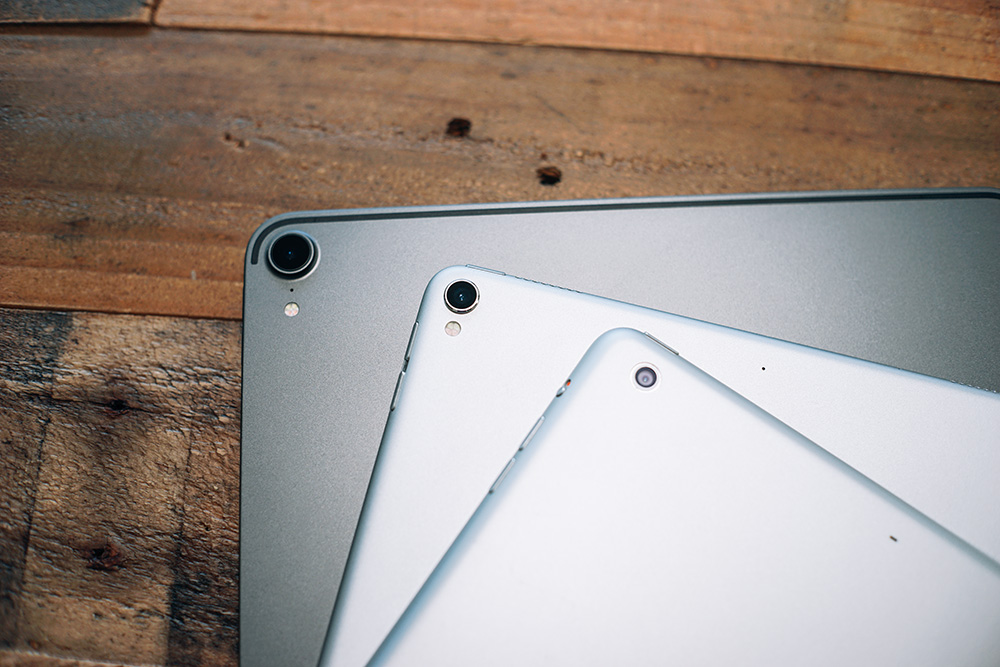
From left, iPad Pro 12.9, iPad Pro 10.5, iPad Air.
The thickness and screen size of the iPad Air fit Macintosh Classic.
It is mainly used to play music on YouTube or display my interactive works.
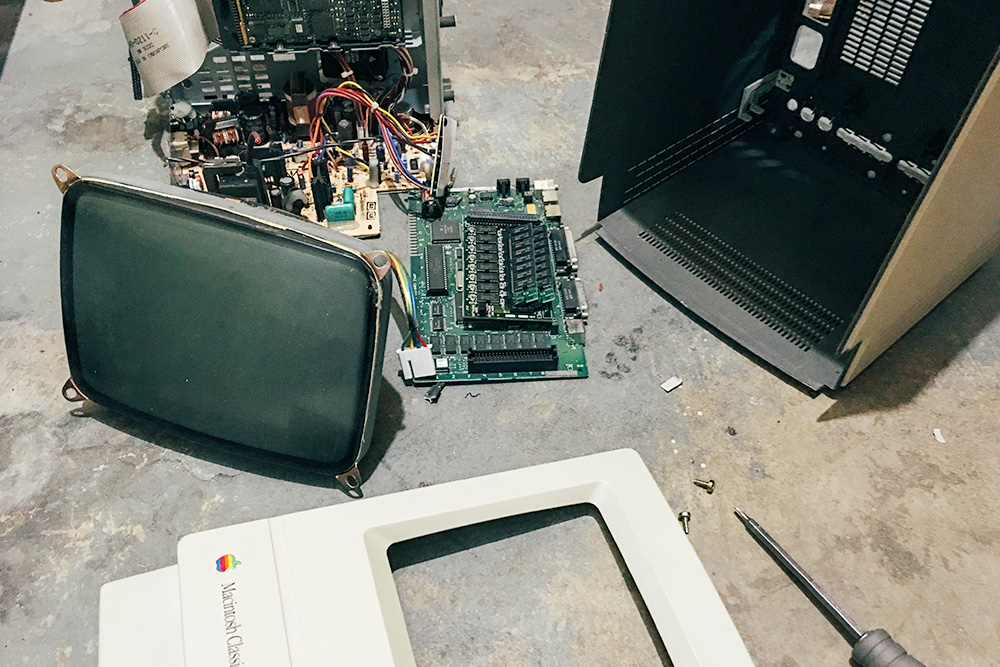
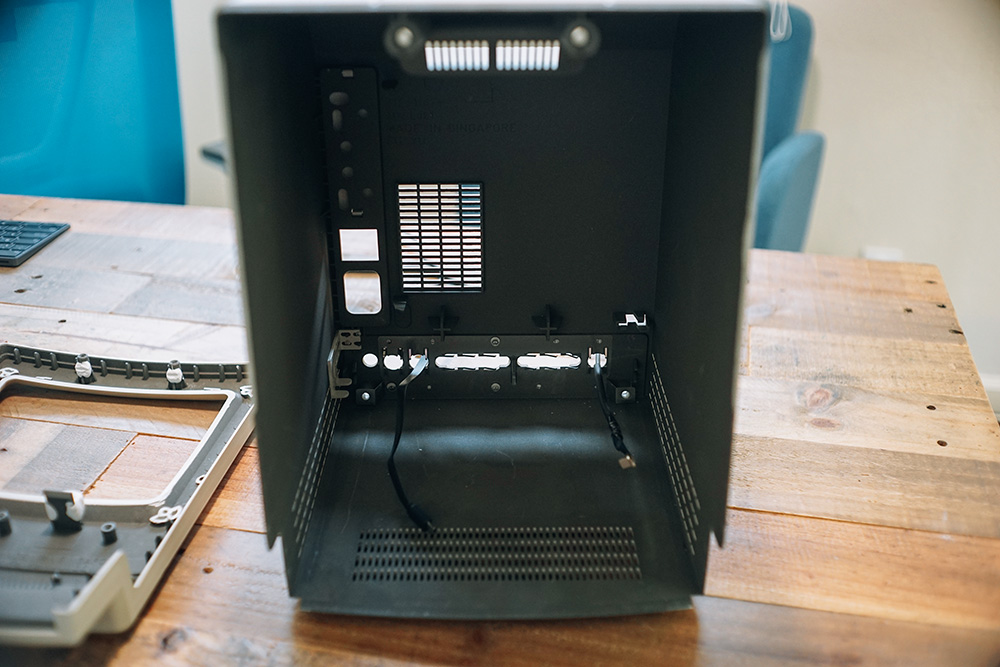
Dismantled a Macintosh Classic bought on eBay.
It will use only the case, so I bought as clean as possible surface, even though it does not work.
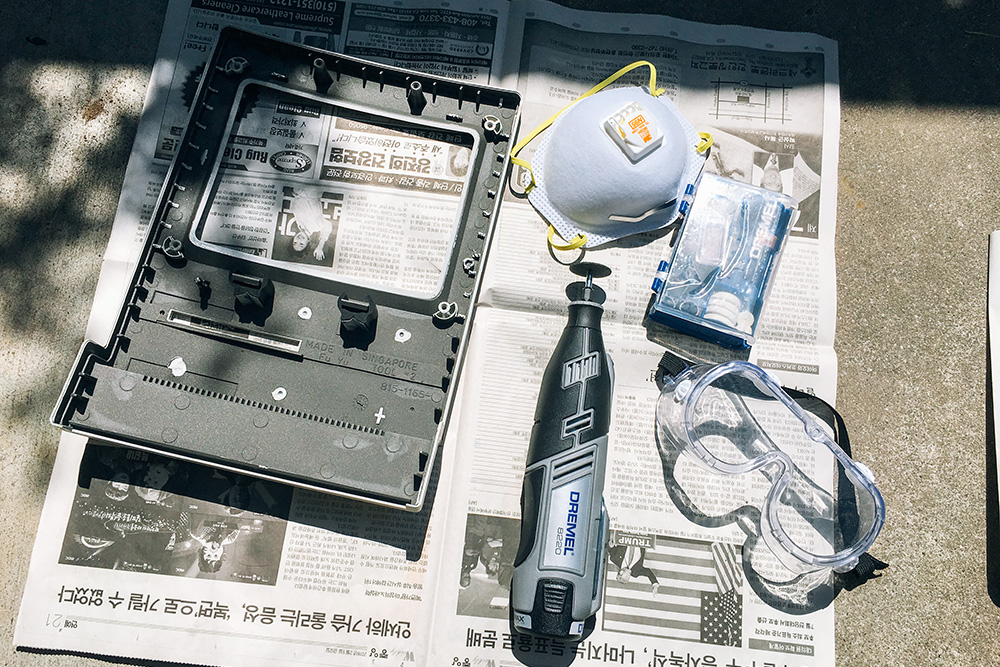
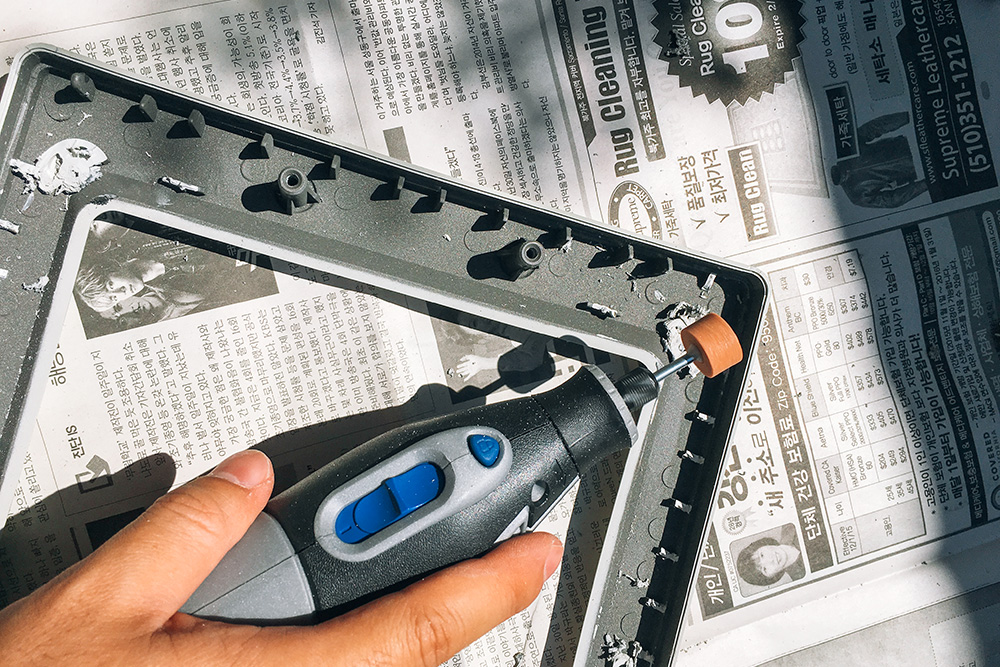
Grinds the parts that bumps to iPad using Dremel in the front case.
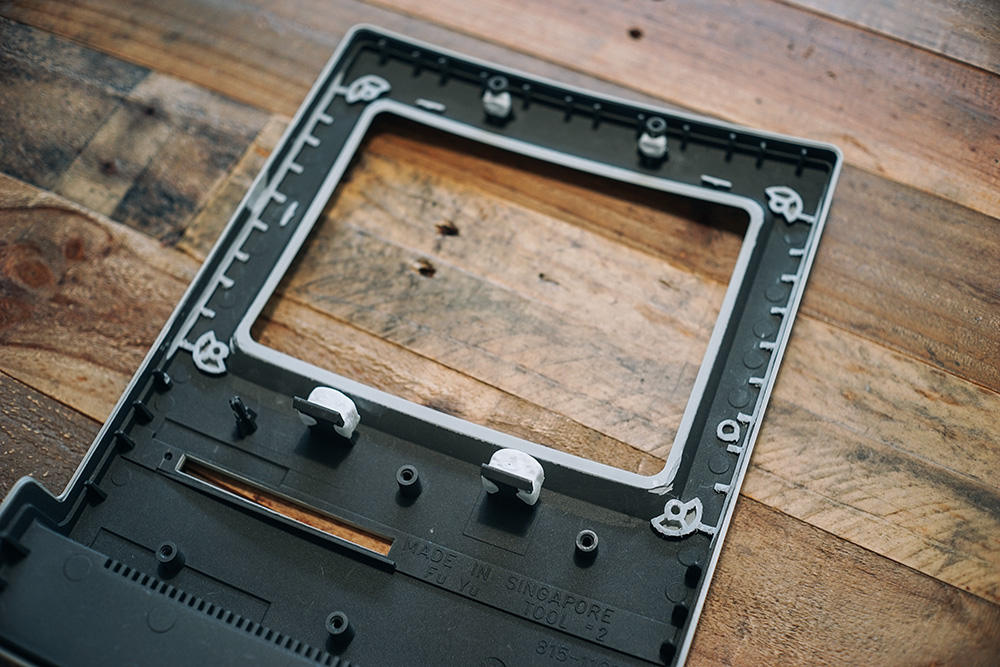
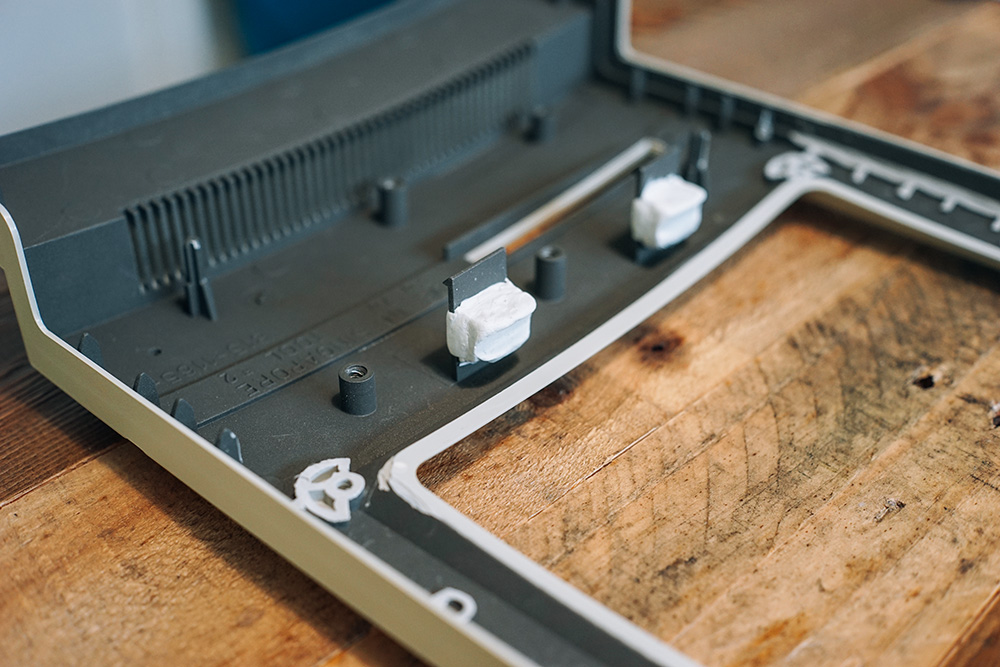

Use the protrusion above and below the screen area as a support.
Make supports with Molded Glue that hardens like rubber.
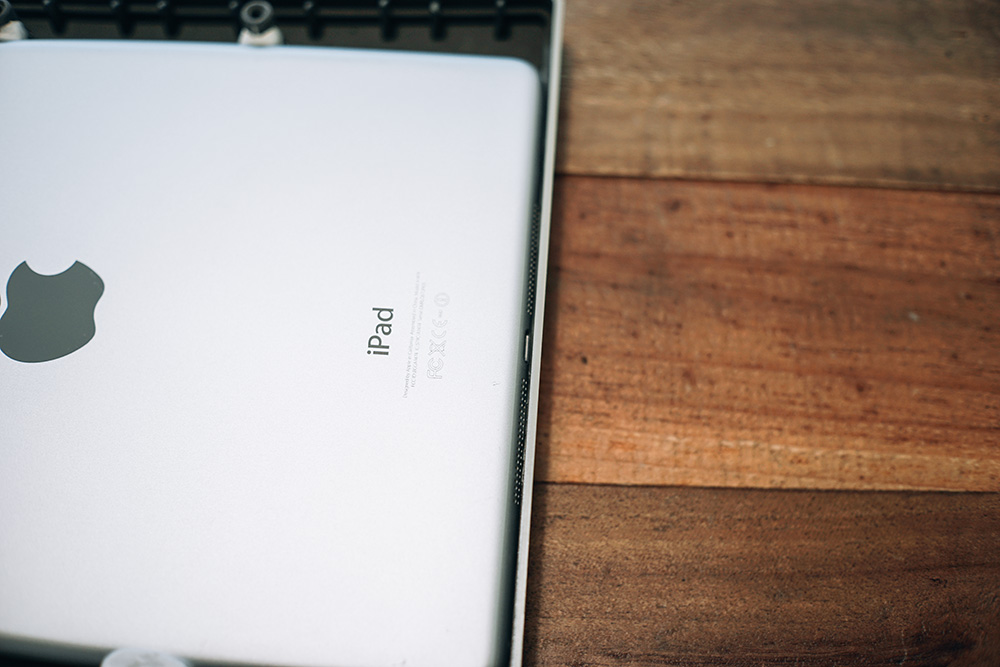
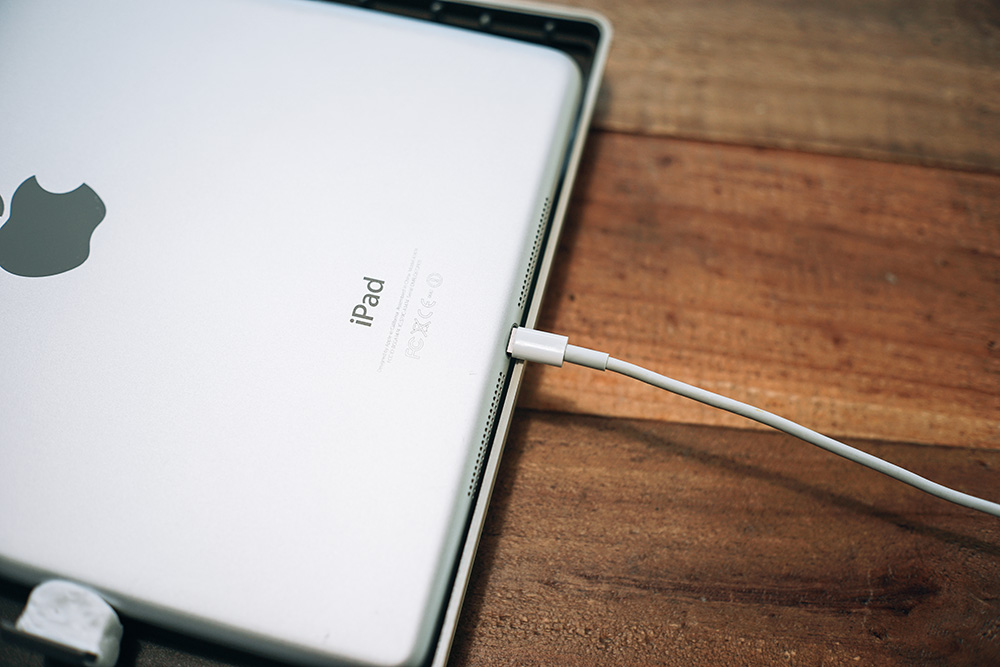
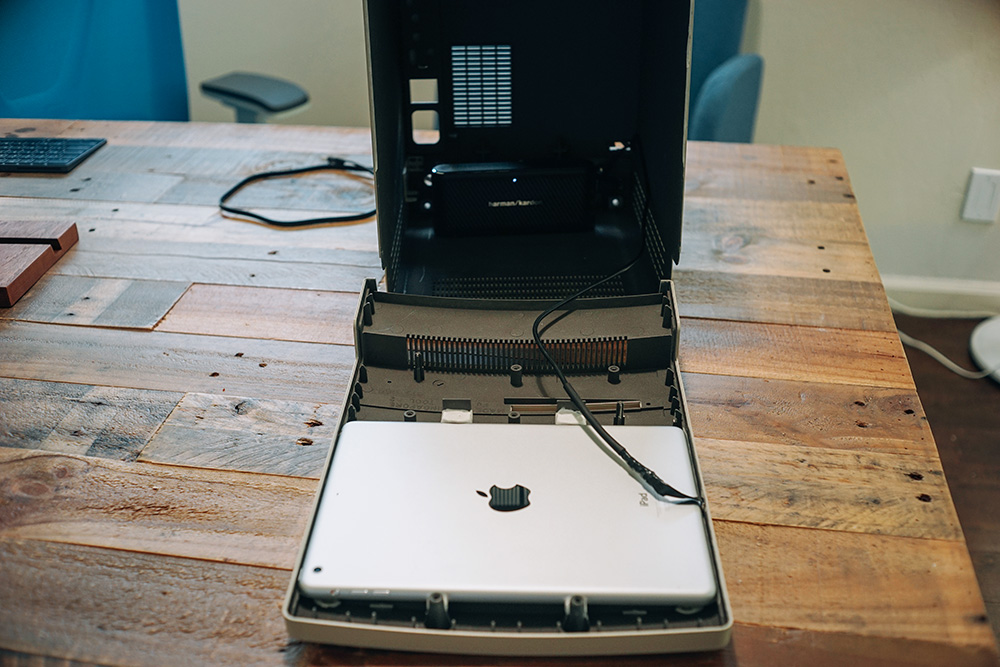
I do not want to put the iPad alone, but I’d like to charge it, but the size is too fit, so there’s no room for the lightning cable.
At first, I made a hole on the side of the case to put the iPad in and out.
I can charge it.
But it looks less perfect.
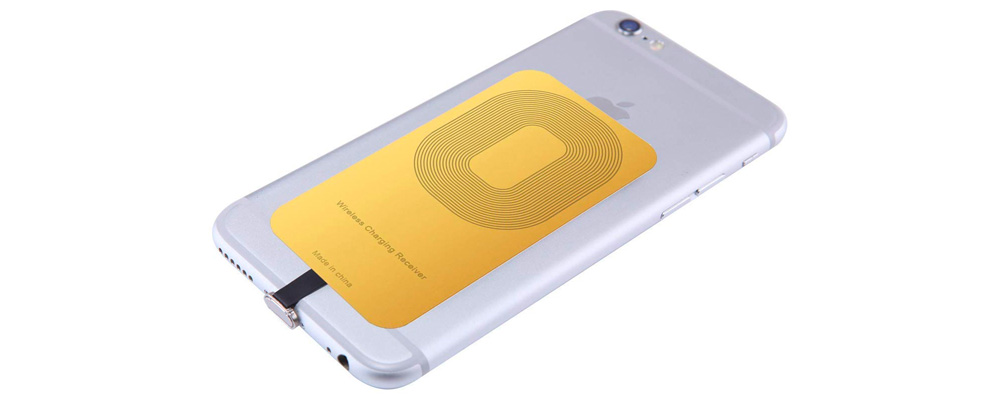
I found a receiver for wireless charging, which is thinner lightning cable.
The thickness of the connectors and lines is very thin because it needs to go into the iPhone case and charge wirelessly.
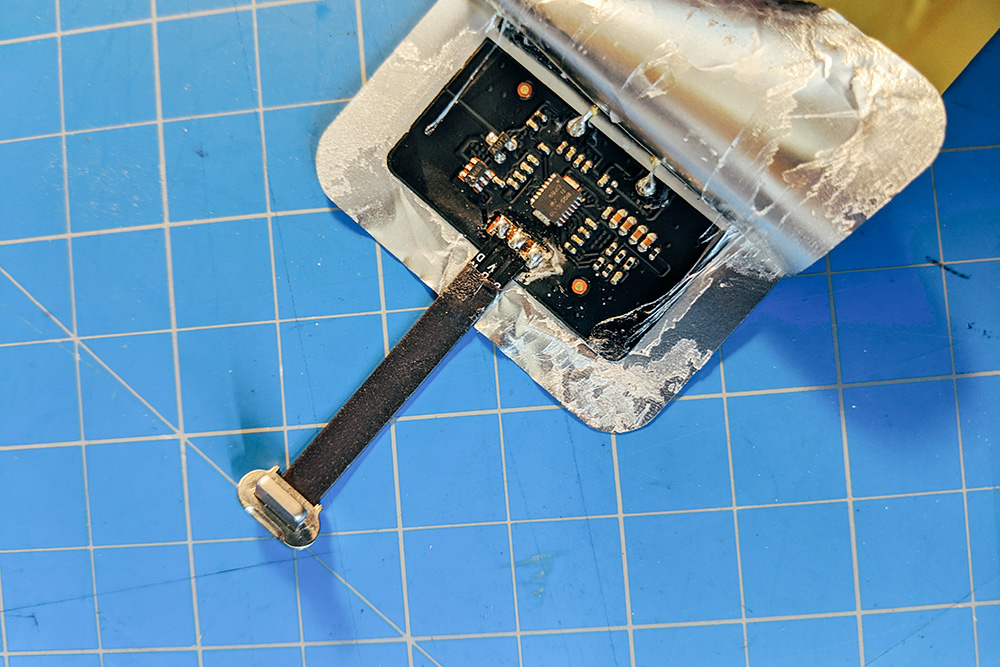
There is no line for data communication, only GND, + 5V, ID for charging.

Search Google for ‘lightning connector pinout diagram’.
On the cable, use GND for 1st pin, ID for 4th pin, + 5V for 5th pin.
Disassemble the cables and check the colors in the required order.
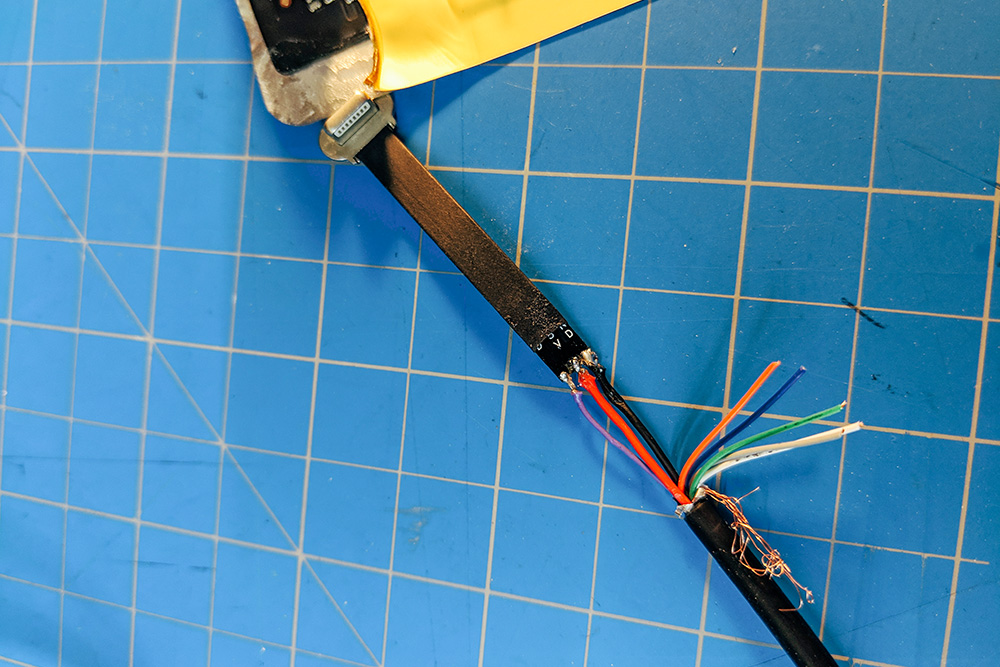
Soldering.
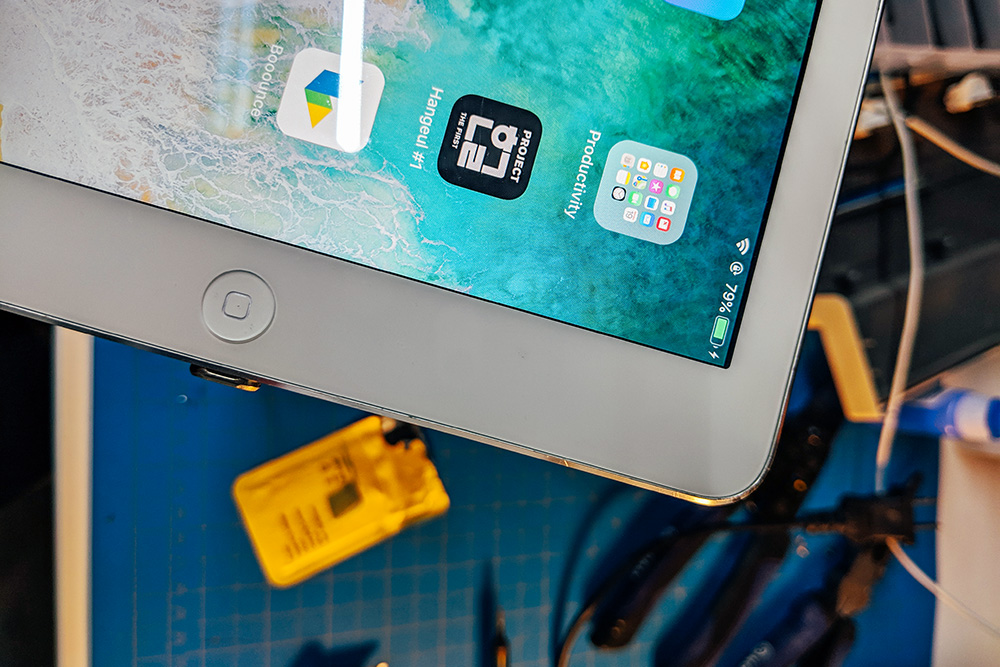
The power comes in well.
It perfectly fits into the case.
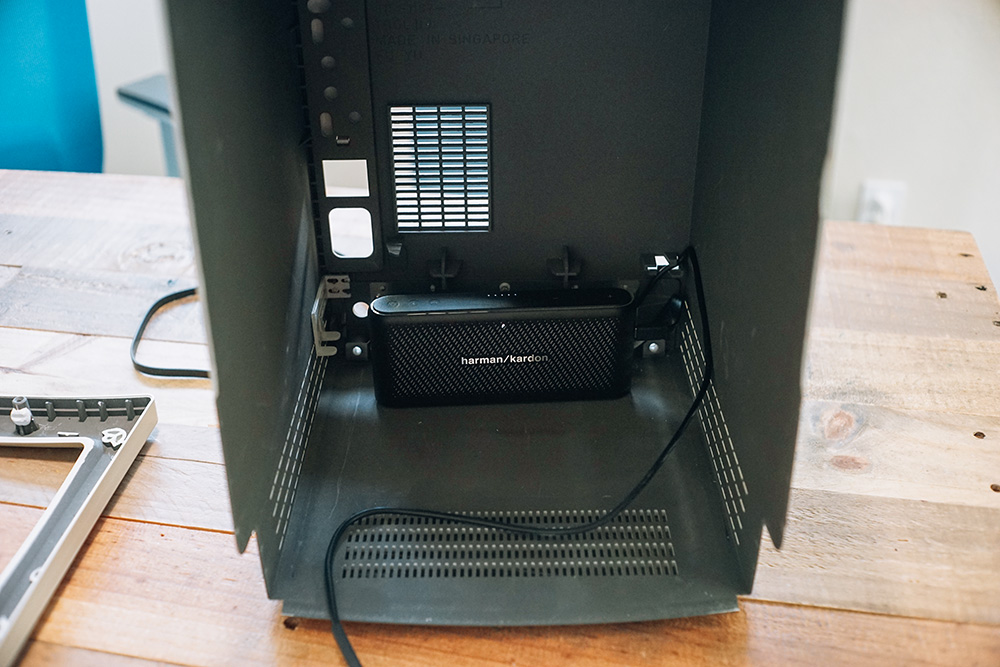
Arranges the wires, and also insert a Bluetooth speaker.
Both sides are clean, there’s no holes.
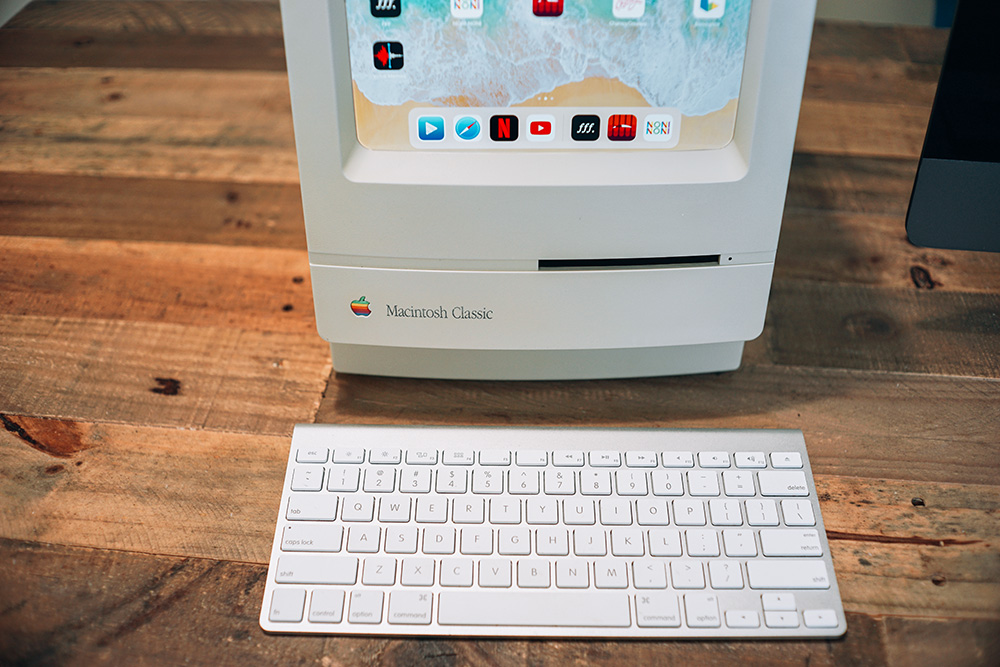
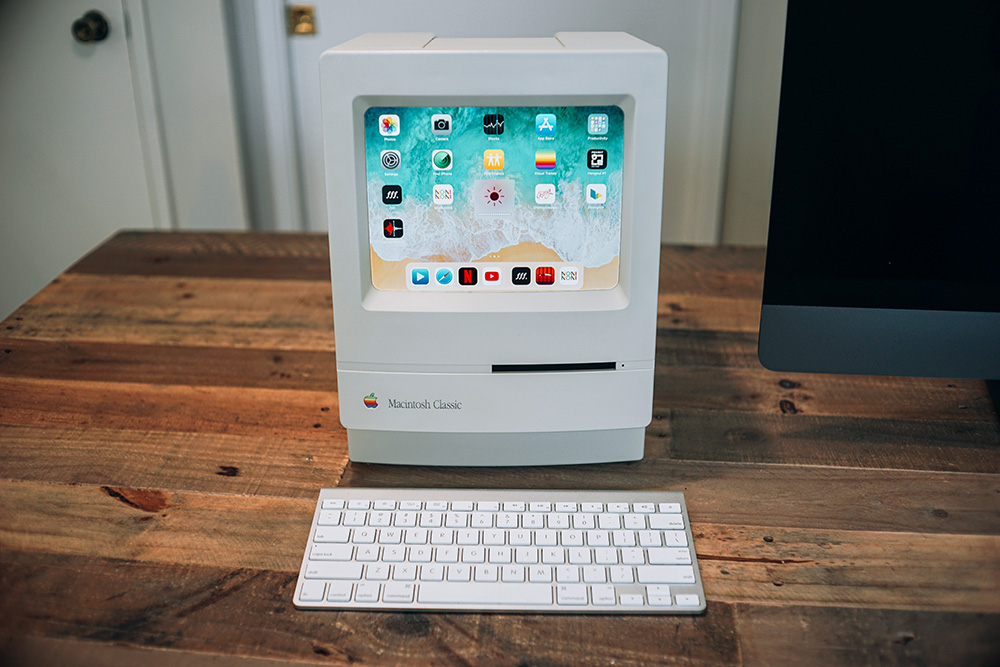
Connect an Apple wireless keyboard with Bluetooth, it allows you to wake up in sleep mode, control brightness and volume.
End.